There are three ways of adding a booking button:
Shortcode
You can add this shortcode to your page:
[latepoint_book_button]You can also generate a shortcode using PHP in your code:
<?php echo do_shortcode('[latepoint_book_button]'); ?>You can further customize it by using shortcode attributes, for example:
[latepoint_book_button selected_agent="1" hide_side_panel="yes"]List of available attributes
Customize Button Appearance
| Attribute | Description | Default | Example |
|---|---|---|---|
| caption | Text for the caption of the button | "Book Appointment" | "text" |
| bg_color | Background color for the button | "#2d54de" | "#2d54de" |
| text_color | Text color of the button | "#ffffff" | "#ffffff" |
| font_size | Font size of the button | "16px" | "14px" |
| border | Border of the button, accepts values like | none | "1px solid #000000" |
| border_radius | Border radius of the button | "0px" | "10px" |
| margin | CSS margin of the button | "0px" | "10px 20px" |
| padding | CSS padding of the button | "10px 20px" | "10px 20px" |
| align | Alignment of the button | "left" | "center", "left", "right", "justify" |
| css | If style attributes are not enough, you can simply enter custom css into this attribute and it will be applied as an inline css to the button. Note: if you want to use this attribute, you can NOT set other style attributes from the list above, otherwise this will be ignored. |
padding: 10px 20px; border: none; | |
Customize Form Appearance
| Attribute | Description | Default | Example |
|---|---|---|---|
| hide_side_panel | Setting to "yes" hides the left side panel of a booking form | "no" | "yes", "no" |
| hide_summary | Setting to "yes" hides the summary panel | "no" | "yes", "no" |
Skip steps and control available data
| Attribute | Description | Example | |
|---|---|---|---|
| Pre-selecting step value | |||
| selected_location | Skip location step by setting to location "ID" or to "any" to auto assign any available location. | "1", "any" | |
| selected_agent | Skip agent step by setting to agent "ID" or to "any" to auto assign any available agent. | "1", "any" | |
| selected_service | Skip service selection step by setting to service "ID". | "1" | |
| selected_duration | Skip duration selection step by presetting duration in minutes. | "60" | |
| selected_total_attendees | Preselect number of attendies to skip that step. | "3" | |
| selected_service_category | Show services from specific category by setting category "ID". | "1" | |
| calendar_start_date | Setting this attribute to a date forces the calendar to start on that date. You can also use dynamic values like "tomorrow", "+1 week", "+2 months" etc... and it will automatically show calendar 2 months or 1 week in the future, depending on what day is today | "2024-07-25", "tomorrow", "+1 week", "+2 months" | |
| selected_start_date | This attribute should be set together with the selected_start_time attribute. Setting these two attributes to a specific date and time, will make date & time selection step to be skipped. | "2024-07-25" | |
| selected_start_time | Preselect start time of the booking in minutes. For example "600" is 10:00am. Should be set together with selected_start_date attribute | "600" | |
| Data for steps | |||
| show_locations | Show only select locations by setting their IDs | "1,2,3" | |
| show_agents | Show only select locations by setting their IDs | "1,2,3" | |
| show_services | Show only select services by setting their IDs | "1,2,3" | |
| show_service_categories | Show only select service categories by setting their IDs | "1,2,3" | |
| Other | |||
| source_id | Track the source ID for your booking button or form. Source ID for each booking can be found on the booking edit form in admin. | "ANY_VALUE" | |
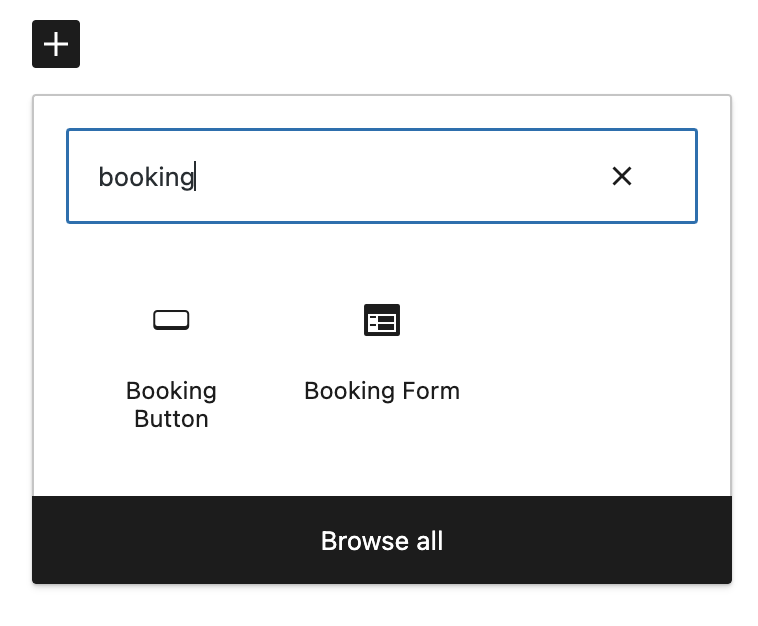
Block Element
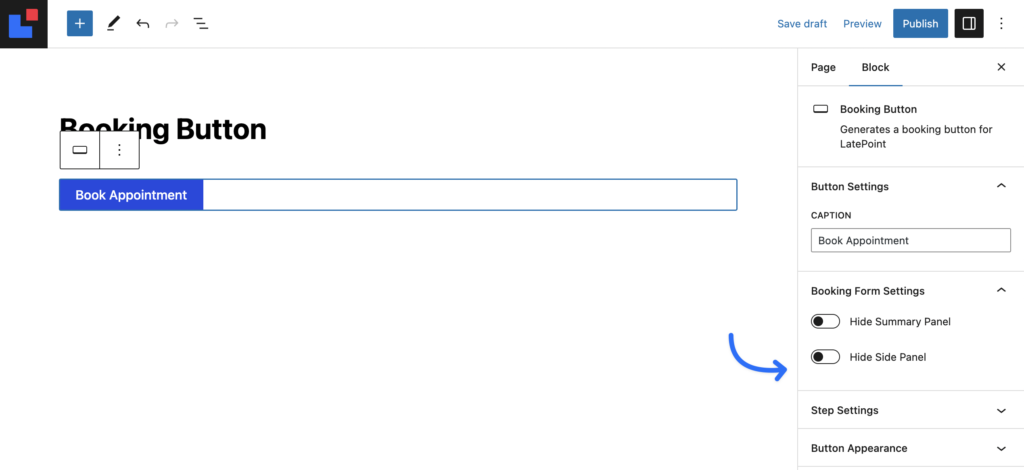
If you are using a WordPress theme that supports Block Elements, you can search for a booking button element in a list of available Blocks.
You can then control all of the attributes of the booking button using a visual interface, without having to deal with shortcodes or custom data attributes:
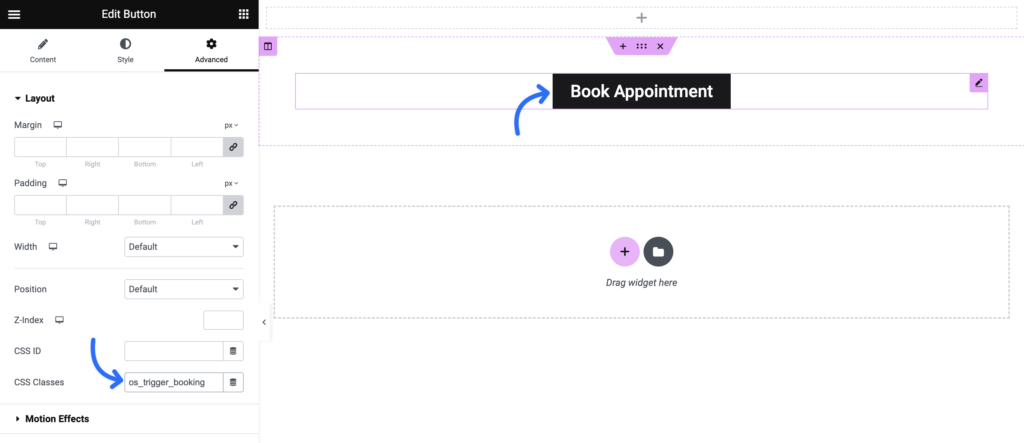
Attaching a trigger to an existing element
If your are using a page builder or some custom button that you want to open a booking modal when clicked, you can simply add os_trigger_booking class to that button, which will convert it into a clickable booking button.
Here is an example of adding it to a custom html that you have in your code:
<a href="#" class="os_trigger_booking">Book Now</a>Here is an example from Elementor plugin:
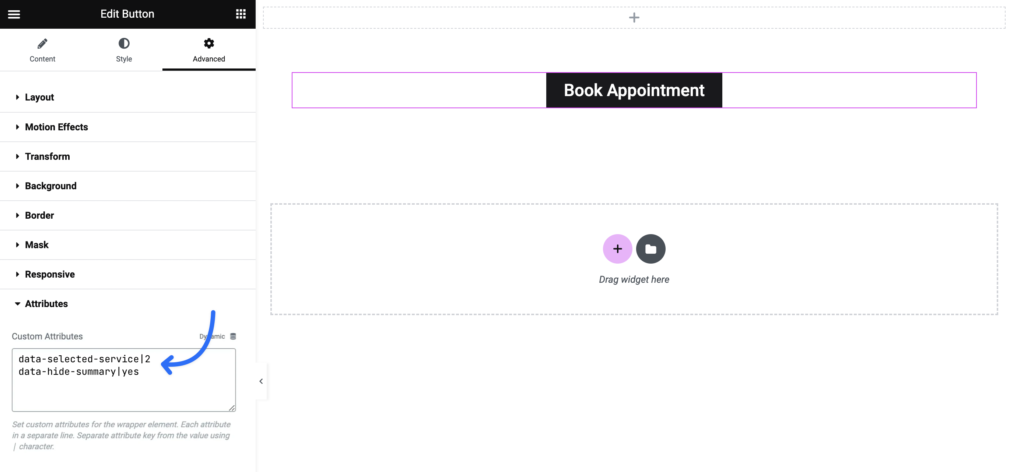
Setting additional attributes
You can also set all of the attributes, that are available in the regular shortcode, for this trigger element. Just replace underscore with a dash and use data- attribute of the element. For example hide_summary=”yes” will turn into data-hide-summary=”yes”.
Here is an example of adding it to a custom html that you have in your code:
<a href="#" class="os_trigger_booking" data-selected-service="2">Book Now</a>Here is an example of setting it inside of the Elementor plugin: